Introduction
The Apache HTTP server is the most widely-used web server in the world. In this guide, we’ll explain how to install an Apache web server on your Ubuntu 20.04 server.
Prerequisites
Before you begin this guide, you should have a regular, non-root user with sudo privileges configured on your server.
Step 1 Installing Apache
Let’s begin by updating the local package index to reflect the latest changes:
Now, install the apache2 package:
Step 2 Adjust the Firewall
Before testing Apache, it’s necessary to modify the firewall settings to allow outside access to the default web ports.
You can verify the change by typing:
The output will provide a list of allowed HTTP traffic:
Status: active

To                         Action      From
--                         ------      ----
OpenSSH                    ALLOW       Anywhere
Apache                     ALLOW       Anywhere
OpenSSH (v6)               ALLOW       Anywhere (v6)
Apache (v6)                ALLOW       Anywhere (v6)
As indicated by the output, the profile has been activated to allow access to the Apache web server.
Step 3 — Checking your Web Server
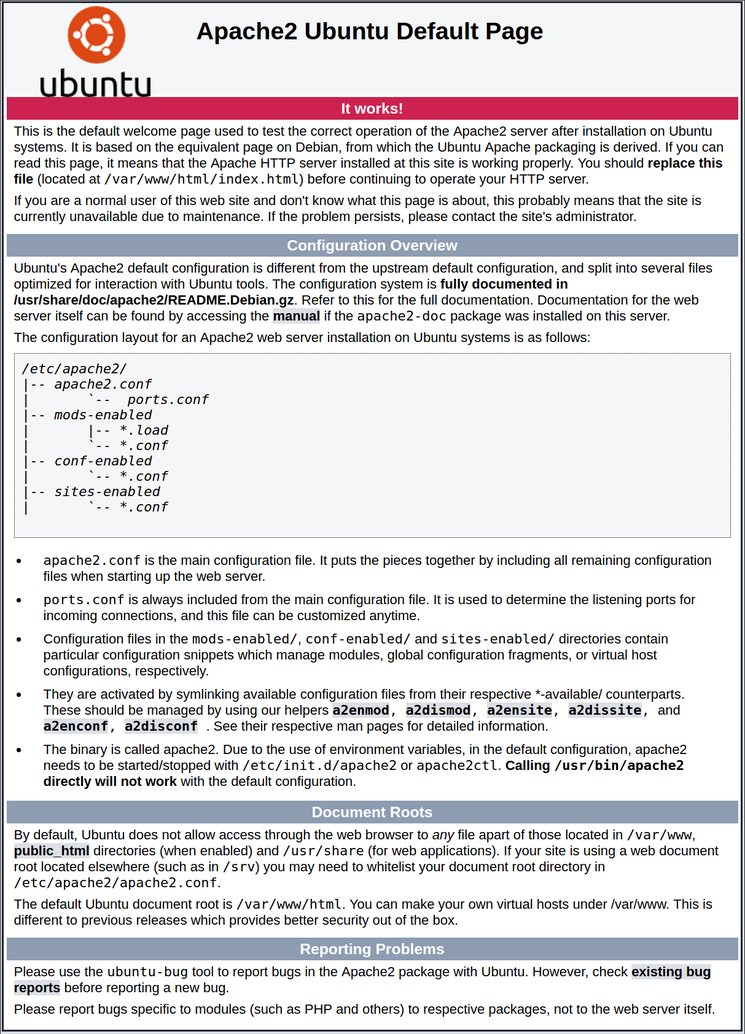
At the end of the installation process, Ubuntu 20.04 starts Apache. The web server should already be up and running.
test by entering your ip address or domain name if configured.
If you do not know your IP address type sudo hostname -i

This page indicates that Apache is working correctly.
Step 4 Managing
Now that you have your web server up and running, Here are some basic management commands using systemctl.
To stop your web server, type:
To start the web server when it is stopped, type:
To stop and then start the service again, type:
If you are simply making configuration changes, Apache can often reload without dropping connections. To do this, use this command:
By default, Apache is configured to start automatically when the server boots. If this is not what you want, disable this behavior by typing:
To re-enable the service to start up at boot, type:
Apache Files and Directories
Now that you know how to manage Apache itself, here are a few important directories and files.
Content
/var/www/html: The actual web content, which by default only consists of the default Apache page you saw earlier, This can be changed by altering Apache configuration files.
Server Configuration
/etc/apache2: The Apache configuration directory. All of the Apache configuration files reside here./etc/apache2/apache2.conf: The main Apache configuration file. This can be modified to make changes to the Apache global configuration. This file is responsible for loading many of the other files in the configuration directory./etc/apache2/ports.conf: This file specifies the ports that Apache will listen on. By default, Apache listens on port 80 and additionally listens on port 443 when a module providing SSL capabilities is enabled./etc/apache2/sites-available/: The directory where per-site virtual hosts can be stored. Apache will not use the configuration files found in this directory unless they are linked to thesites-enableddirectory. Typically, all server block configuration is done in this directory, and then enabled by linking to the other directory with thea2ensitecommand./etc/apache2/sites-enabled/: The directory where enabled per-site virtual hosts are stored. Typically, these are created by linking to configuration files found in thesites-availabledirectory with thea2ensite. Apache reads the configuration files and links found in this directory when it starts or reloads to compile a complete configuration./etc/apache2/conf-available/,/etc/apache2/conf-enabled/: These directories have the same relationship as thesites-availableandsites-enableddirectories, but are used to store configuration fragments that do not belong in a virtual host. Files in theconf-availabledirectory can be enabled with thea2enconfcommand and disabled with thea2disconfcommand./etc/apache2/mods-available/,/etc/apache2/mods-enabled/: These directories contain the available and enabled modules, respectively. Files ending in.loadcontain fragments to load specific modules, while files ending in.confcontain the configuration for those modules. Modules can be enabled and disabled using thea2enmodanda2dismodcommand.
Server Logs
/var/log/apache2/access.log: By default, every request to your web server is recorded in this log file unless Apache is configured to do otherwise./var/log/apache2/error.log: By default, all errors are recorded in this file. TheLogLeveldirective in the Apache configuration specifies how much detail the error logs will contain.


